Mini watercolors landscapes

 Mini watercolors landscapes


Hello artists! Today’s art is inspired by the beauty of a single color- blue! I LOVE blue colors, and our art idea will be a great example of how we can make a beautiful landscape, even if we only have one color. We will be inspired by monochromatic colors/ blue hues, and perspective. I encourage you to explore blue hues with me, but also to keep exploring later many other colors, whatever you love best. Remember, we can’t make mistakes in art! Today we’ll make our little mountains landscape – let’s start!


What you’ll need:

1.      Watercolors paper

2.      Watercolors

3.      Brushes and a water container

4.      Pencil

Our art:

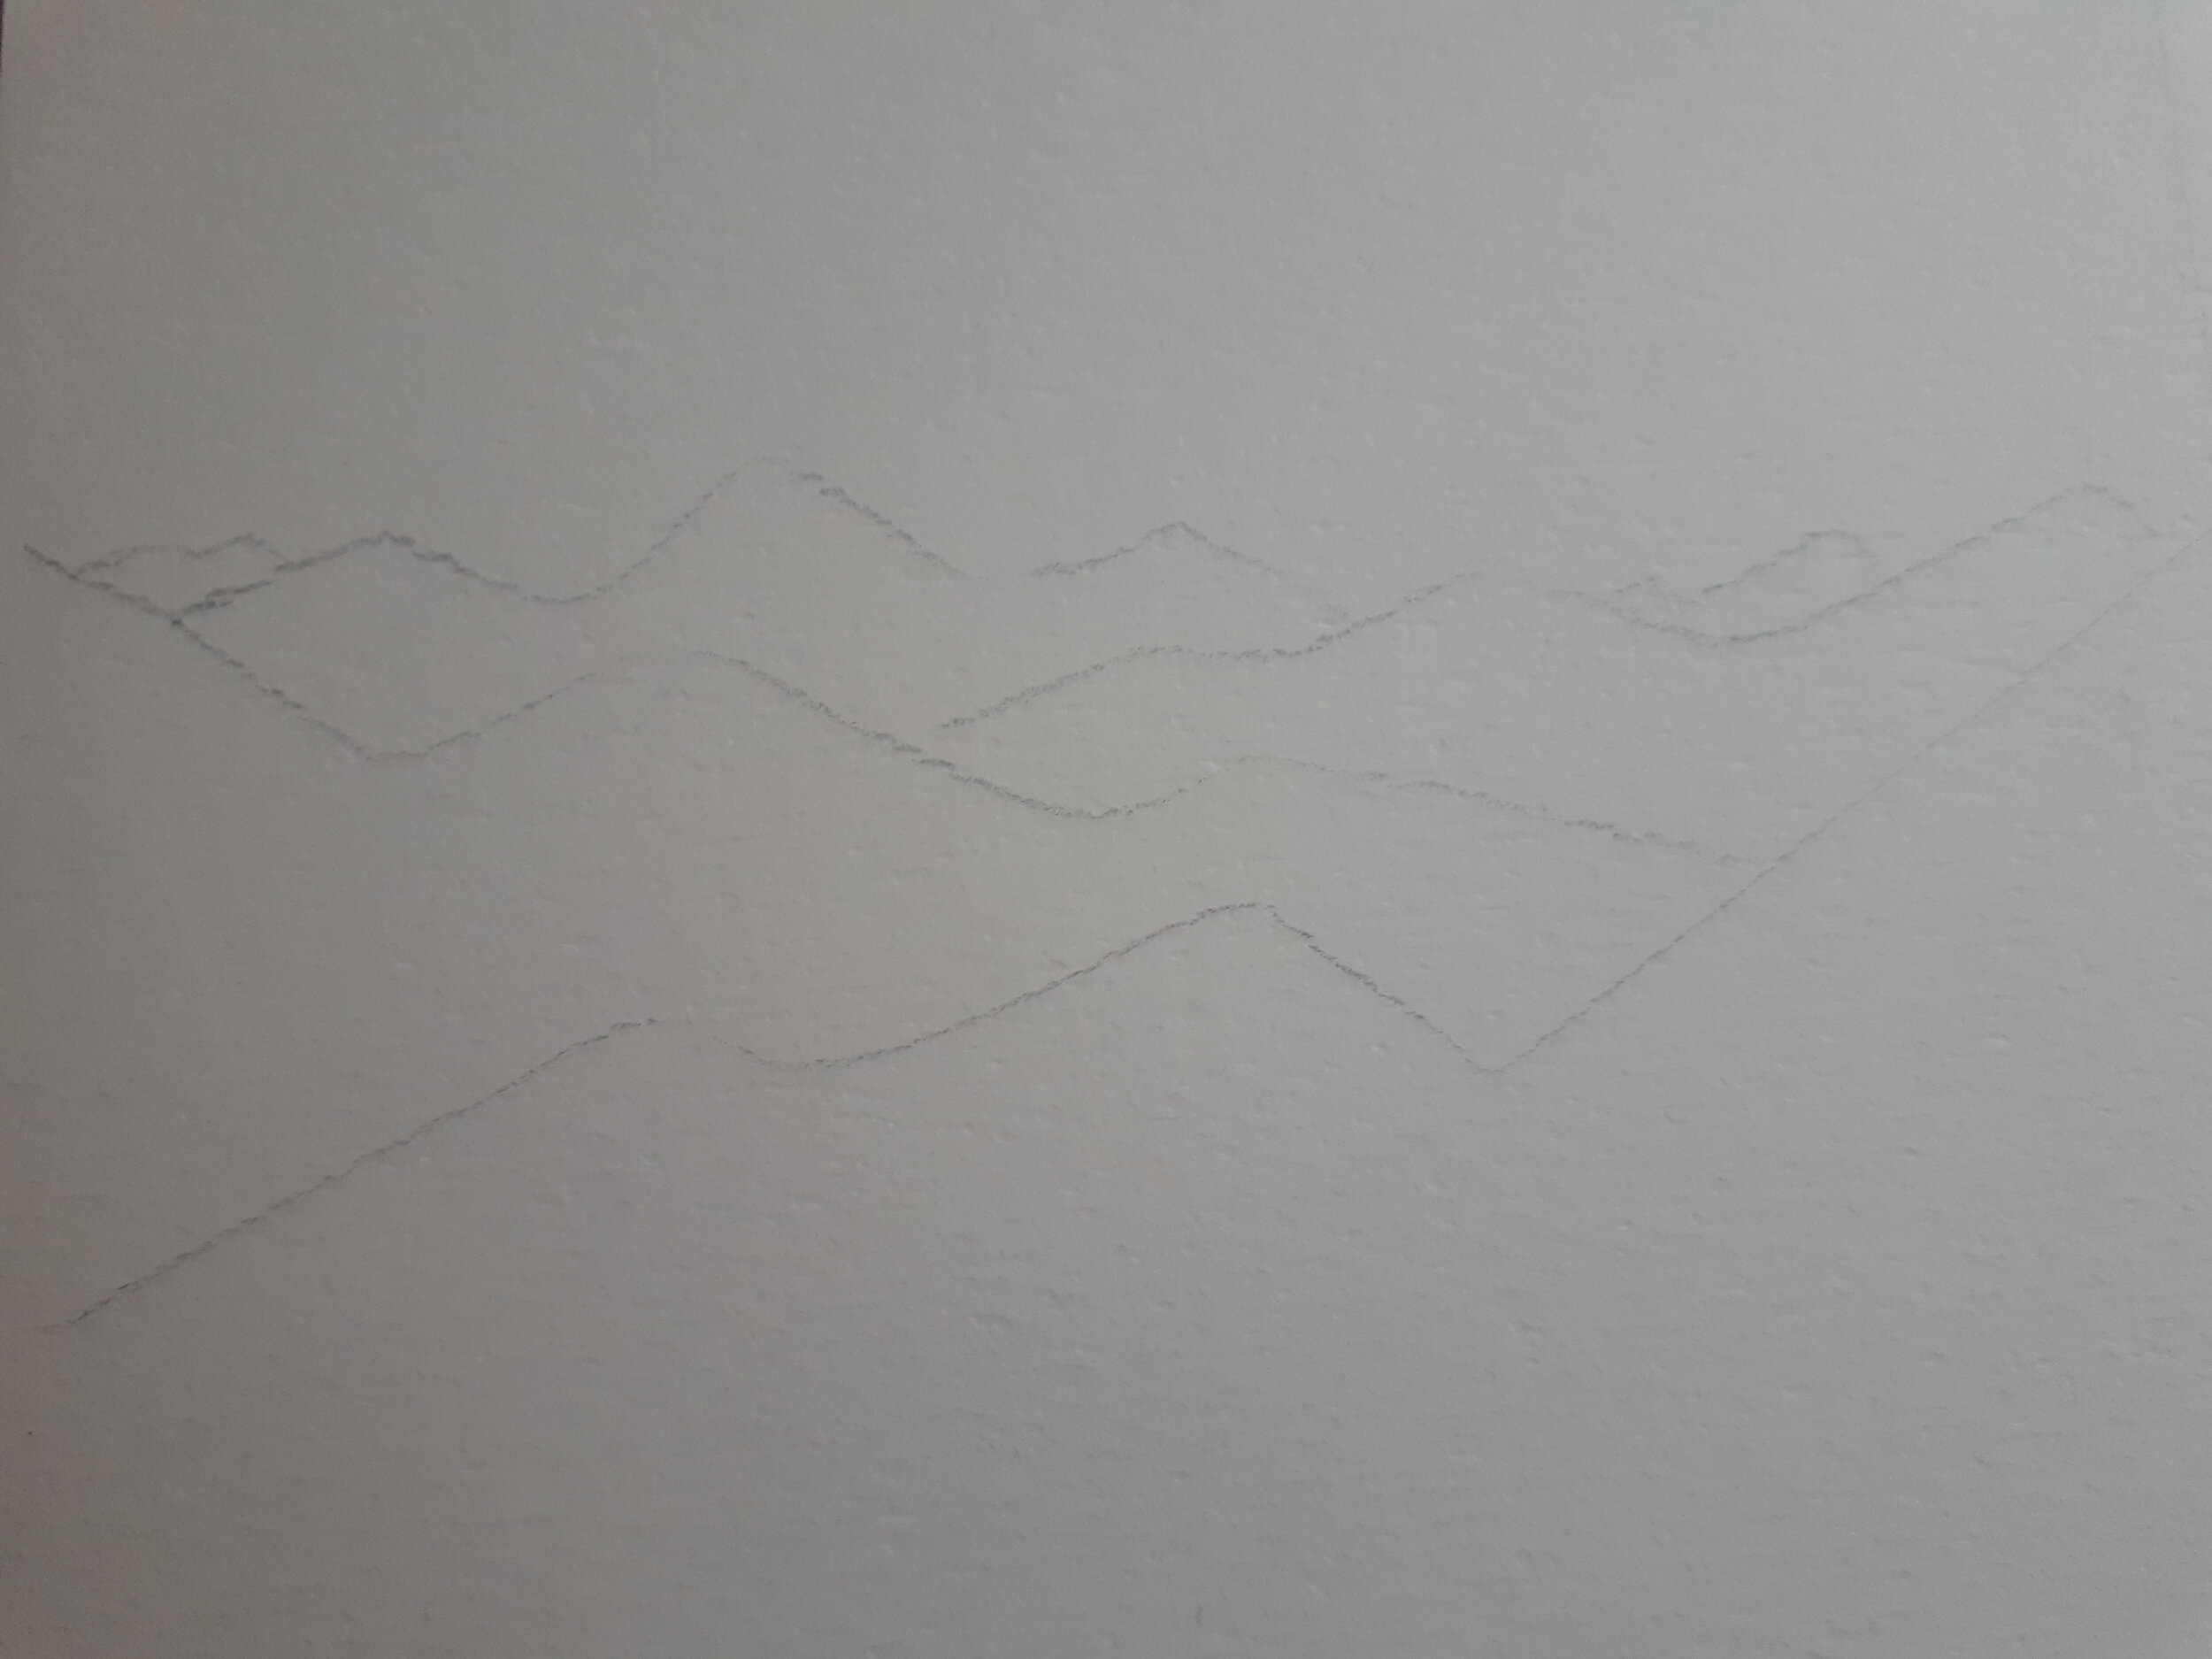
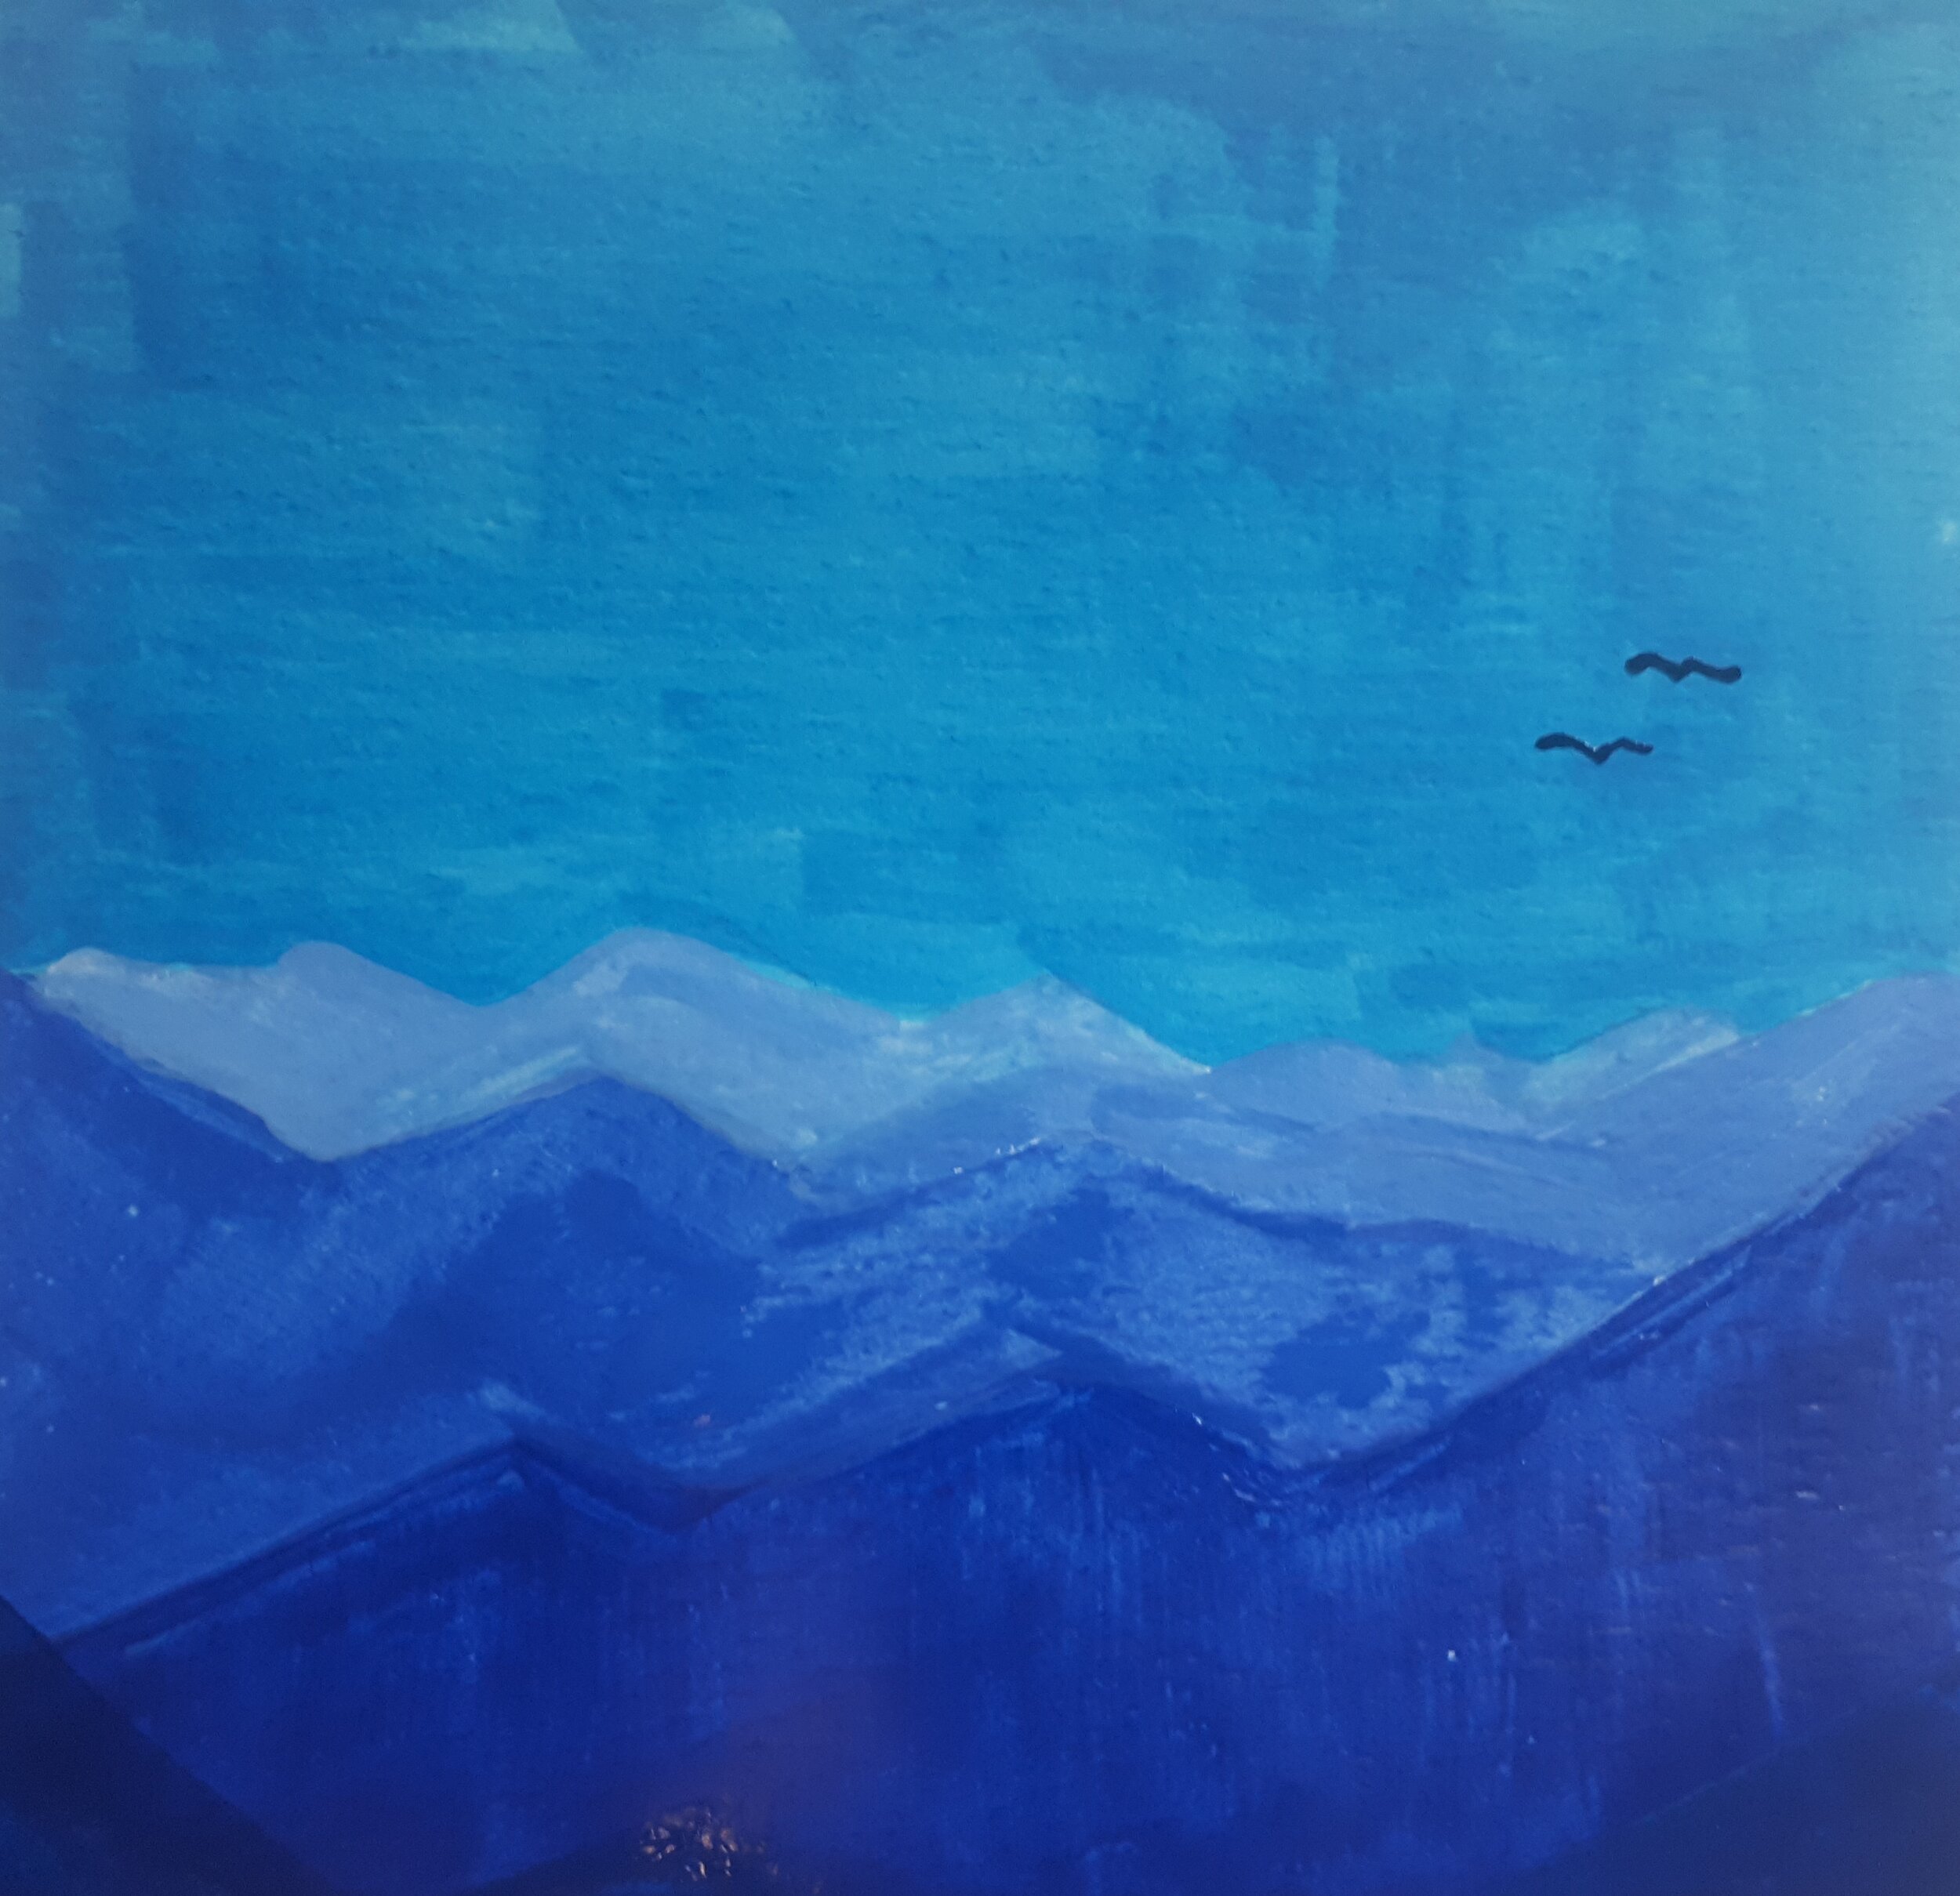
1.      Design mountain lines on your paper as in the picture – bonus point to be inspired by your favorite hiking places!

2.      Get 2 blue colors ready

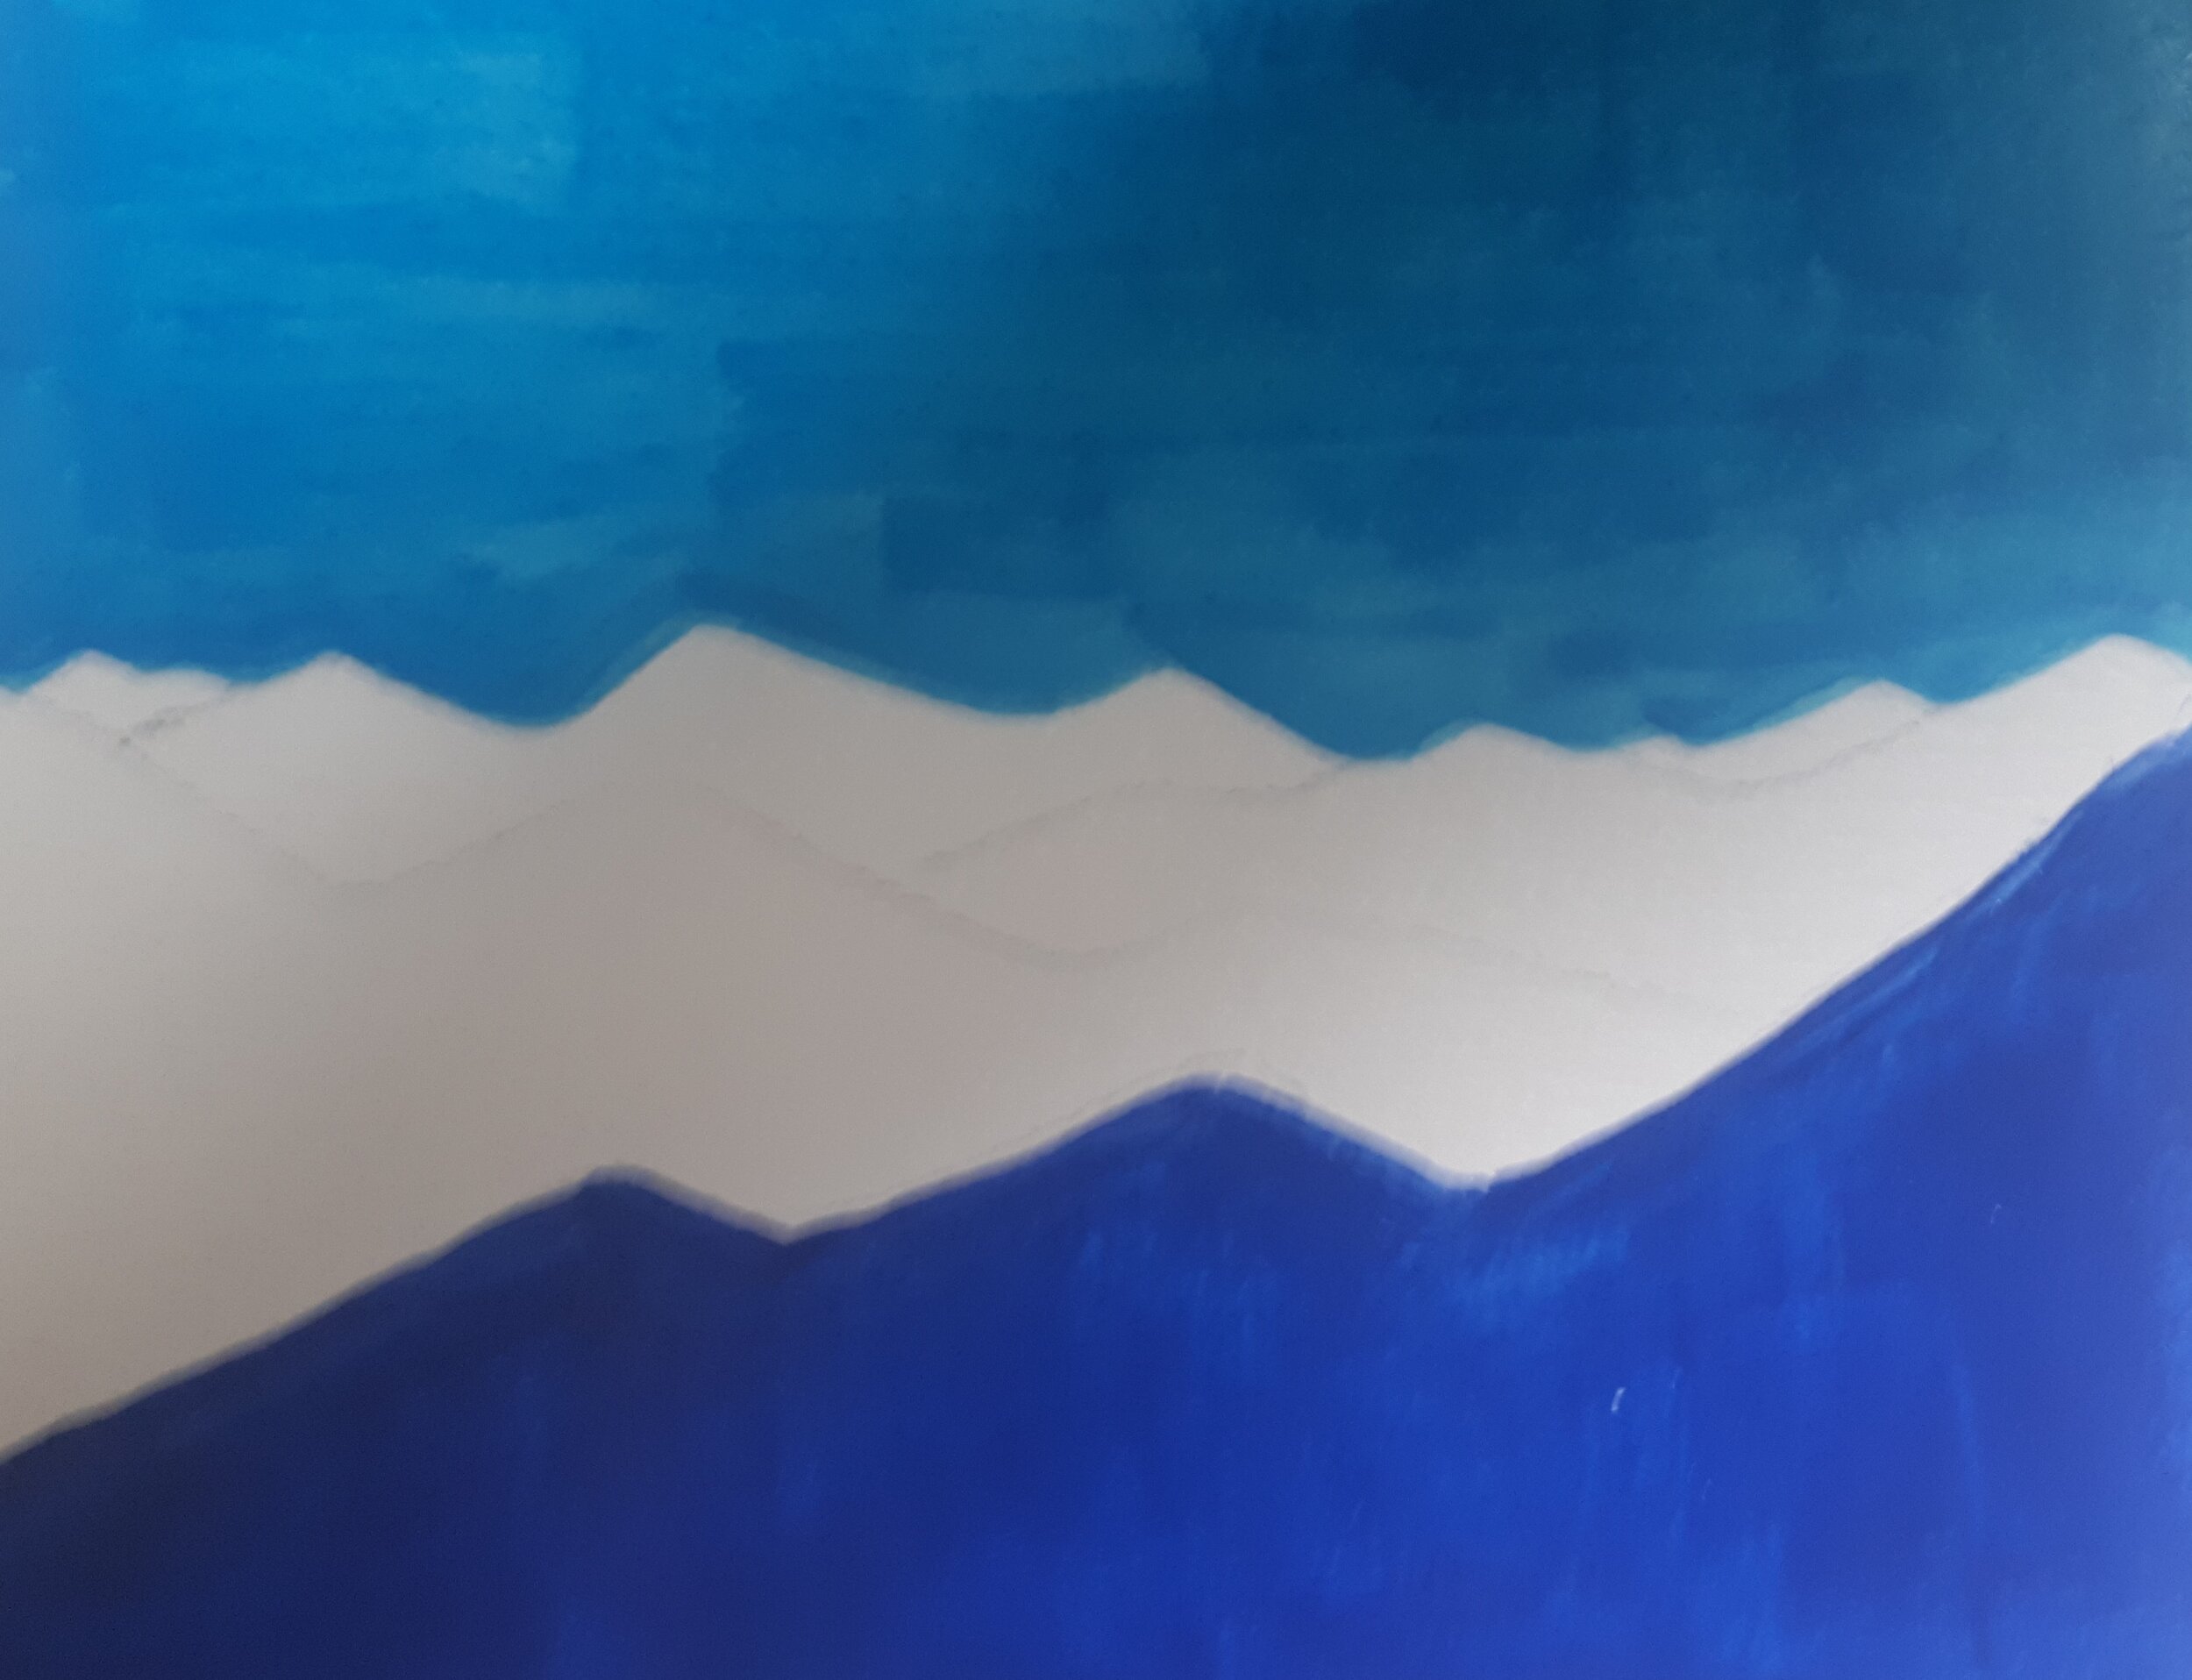
3.      Take one blue (I used ultramarine- but anything works) and add white to make a lighter color for the sky, and then color the sky above the mountains

4.      Take another blue (I used phalo- but again- anything works!) and add it as on the first, closest, layer of mountains. The mountains that are closer to you will be darker- this helps to create perspective and depth.

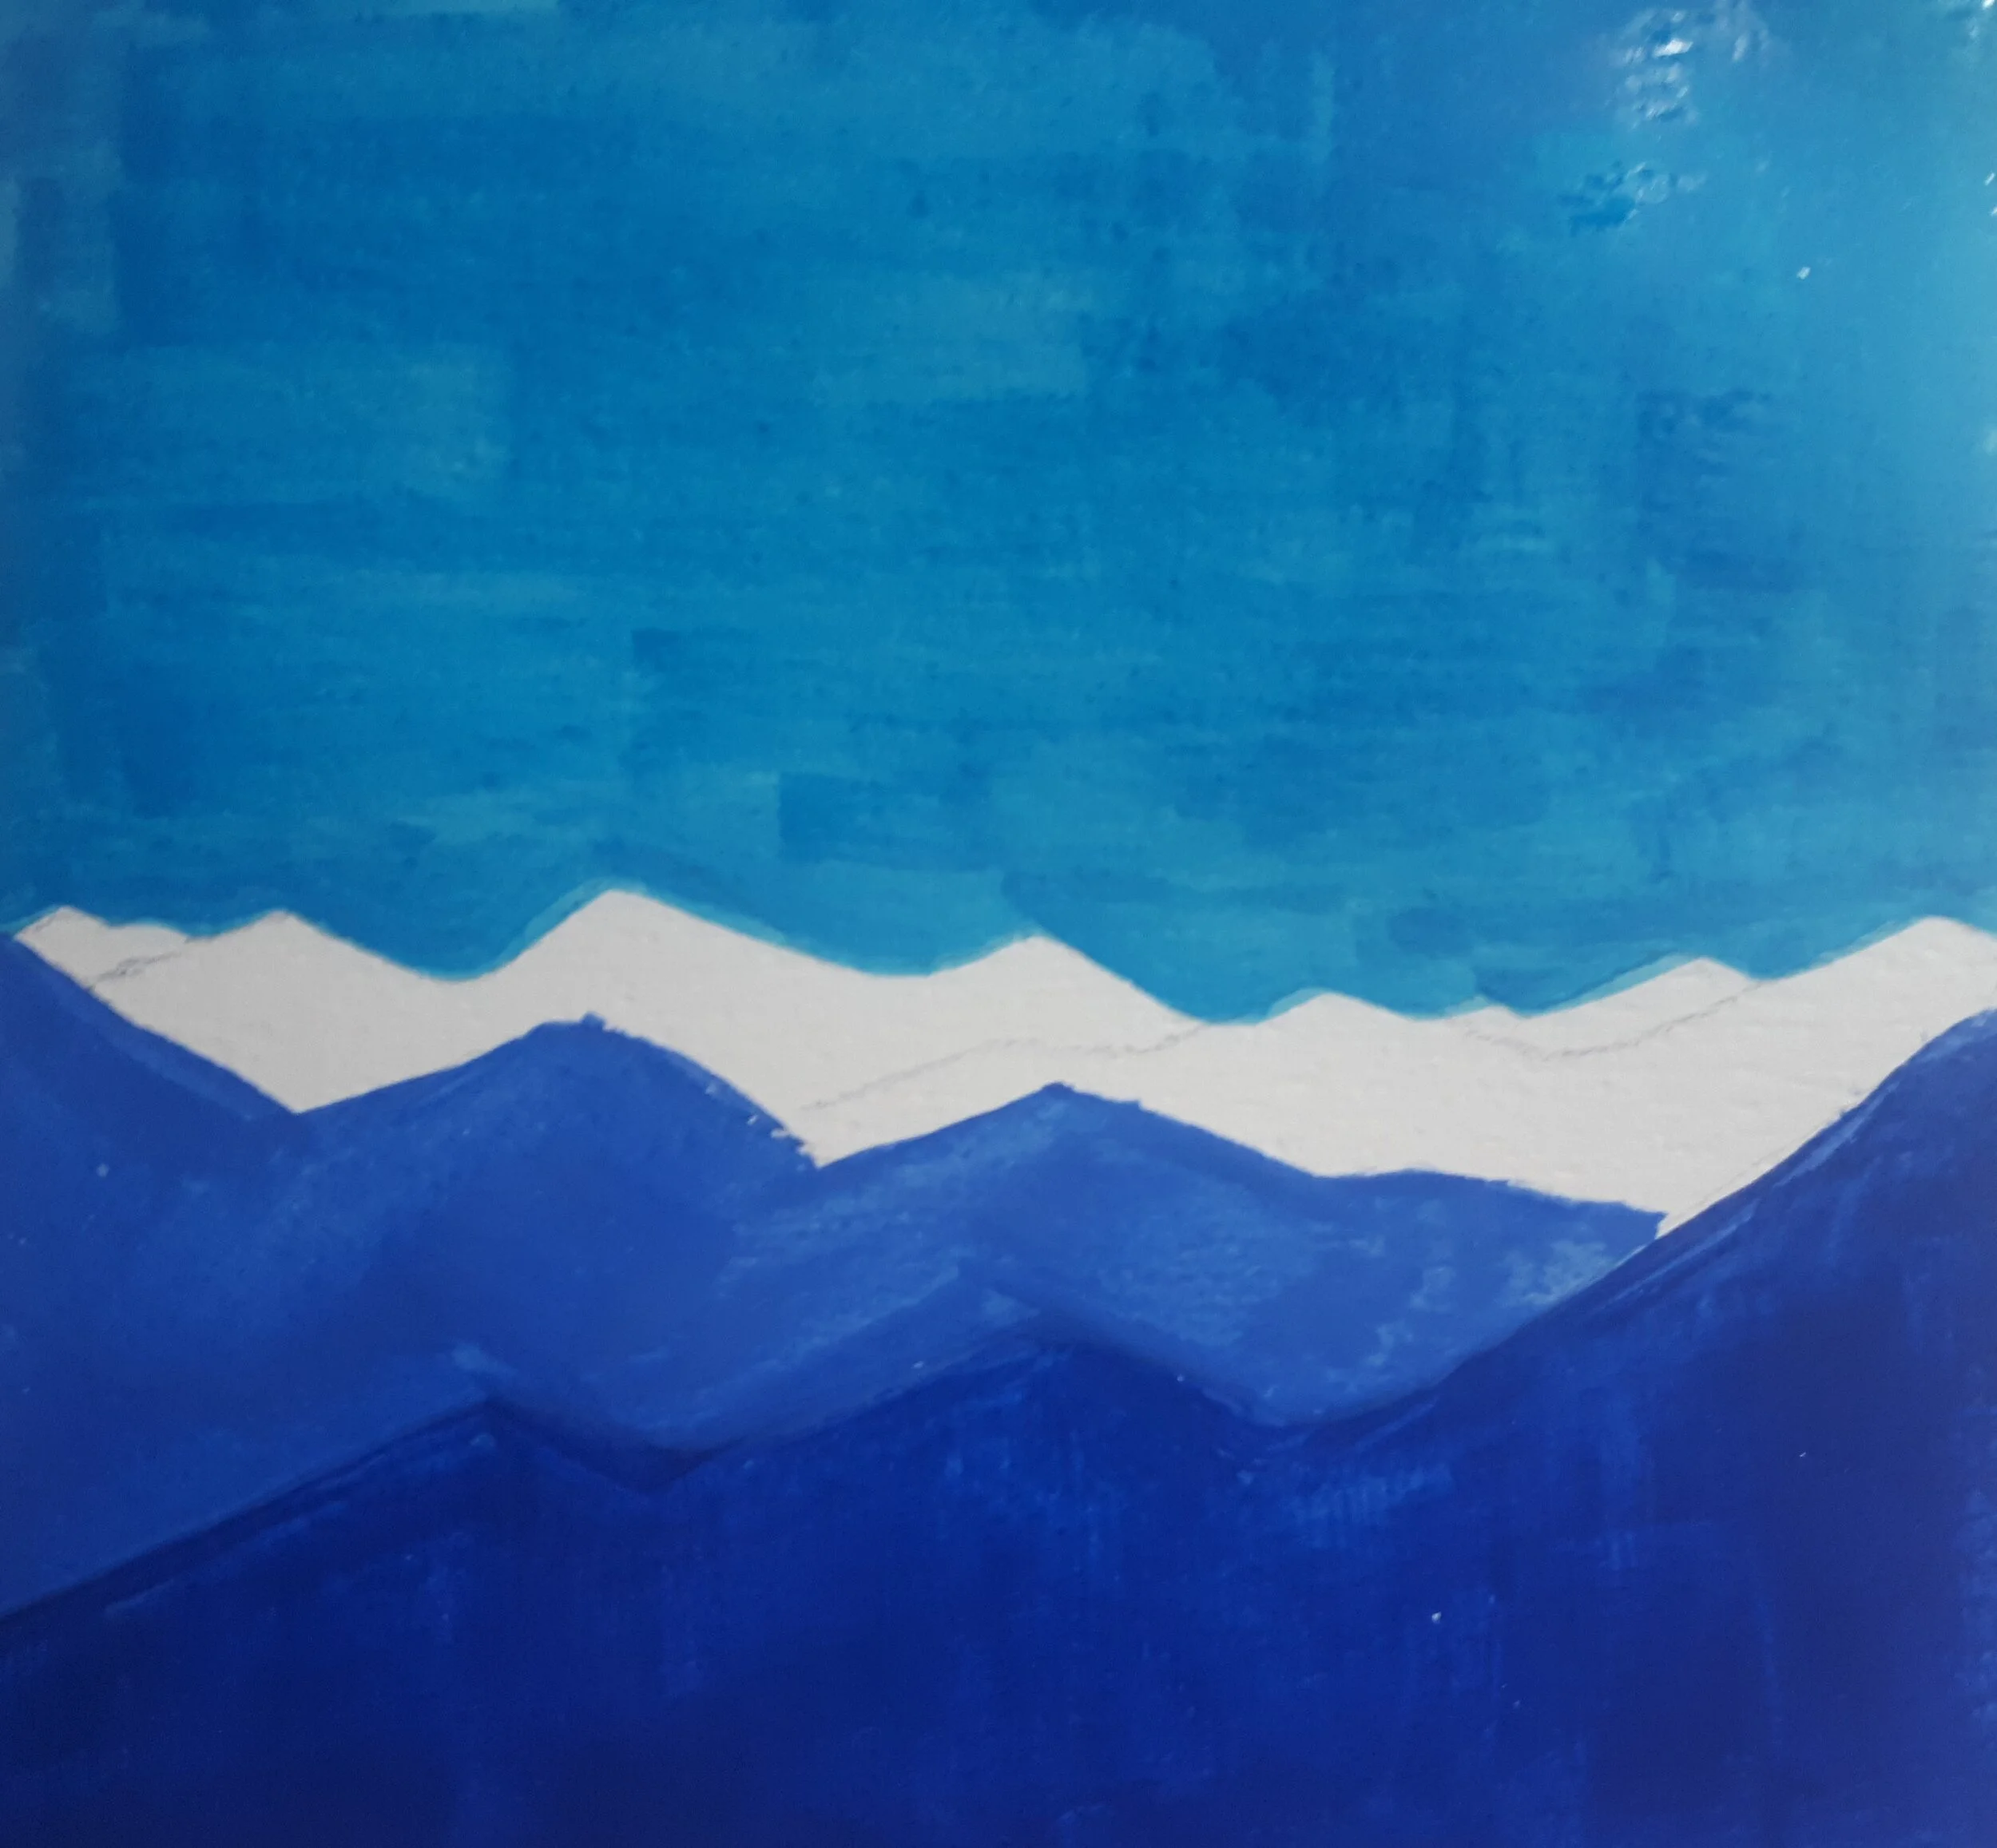
5.      Add a little white to the same blue you used in the mountains and add it to the next layer of mountains.

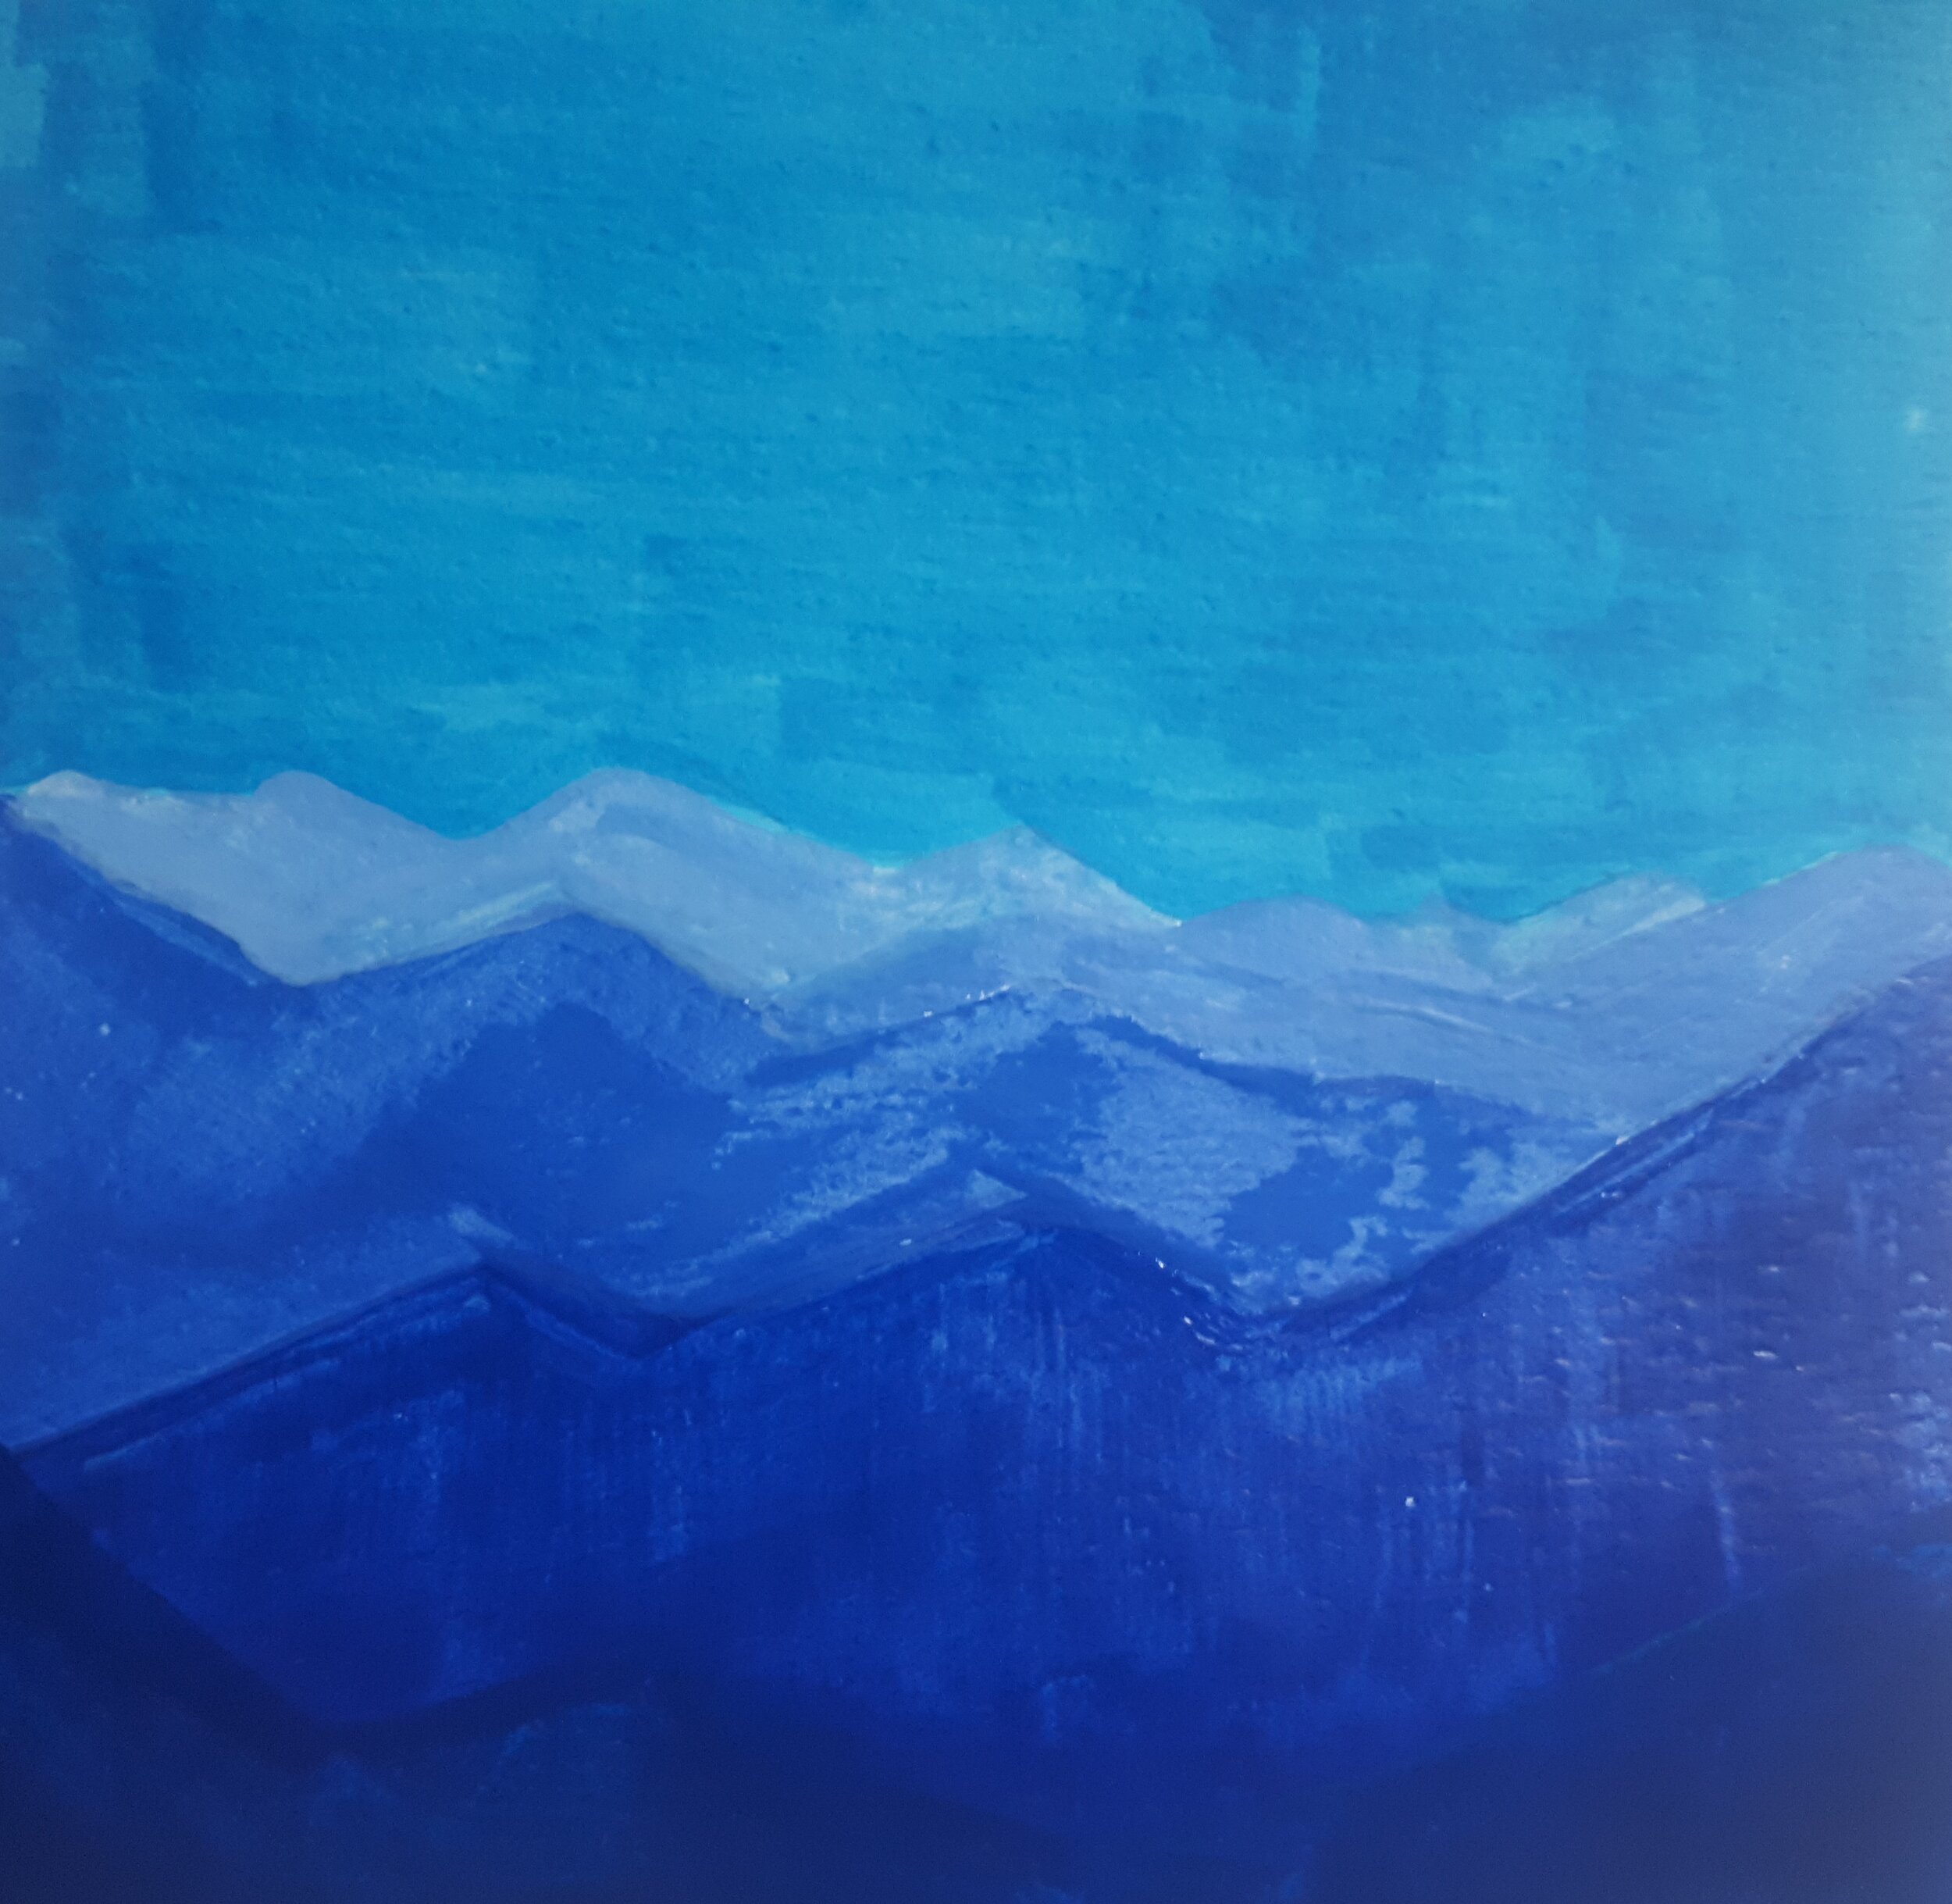
6.      Blend in your mountains blue a little more white and add it to the next layer of mountains. Repeat with as many mountain layers as you have.

7.      Enjoy! Bonus: add a bird/ other animals in your landscape.

Hope you enjoyed this time’s art and feel free to send me pictures of your artworks through “contact me” at this website. I love seeing your art!
Follow up with art by Maya on Facebook, Instagram or my mail list (also at this website at contact me) and stay tuned for Arts in the Park art projects, summer art classes and projects coming up!

Colorfully yours,

Maya


Spring time art! Watercolors book marks

Spring colorful bookmarks


Hello artists! With the arrival of spring, I can’t help but feel inspired by all the colors and return of the sun. Today’s art is inspired by the spring changes: the colorful combinations of vivid hues, the varied shapes and designs of all that blooms, and my love for reading and connecting art with other fields in our life where imagination and inspiration comes to visit. Today we’ll make our own colorful bookmarks – let’s start!


What you’ll need:

1.      Watercolors paper

2.      Watercolors

3.      Brushes and a water container

4.      Masking tape


Our art:

1.      Mark the shape of your bookmark on the watercolor paper

2.      Cut out the shape of your bookmark

3.      Cover 1 cm along the edges with masking tape (I used the white tape, but the green tape takes off the paper more easily)

4.      Take 4-6 pieces of tape in varied lengths and create shapes on your bookmark by taping them in triangles and other shapes.  

5.      Choose at least 5 colors: I like to start with a cold combination of colors (blues and greens) and 1 warm color (dark yellow).

6.      Color as you please! Remember to clean the brush well between colors. In the example I kept the hues unmixed, but the sky is the limit!

7.      Let the paint dry

8.      Take the tape off (slowly and carefully, to not take any paper layers with it).

9.      Enjoy! You can add a writing on it, sign your name, or make another one in warmer colors (yellow, red, orange, pink and purple are beautiful to work with!)

006.jpg

Drawing and coloring snowy trees

Drawing and coloring snowy trees


It's a wonderful time to see our beautiful winter wonderland! Today's art is inspired by the snow and our cold weather. One of my favorite things is to connect art and nature. Today’s art, as before, is half inside and half outside! Go outside and look at trees, snow and their shapes.
Then when you’re back get your art supply and let’s go!


What you’ll need: paper, pencil, eraser, pencil colors

1.     Draw an arrow upwards

2.     Add lines alternately inside an imaginary triangle to make sure the lower lines are longer

3.     Add outlines in between as in the image of step 3

4.     Add snow shapes on top of the main lines- the same ones we drew in step 2

5.     Add more snow parts alternately across the tree

6.     Add colors! *Tip: as you color make sure the directions of your lines are in the same direction of the arrow main lines


Hope you enjoyed the art today! Make it your own and play with it, it's nice to make more than one, make it into a forest, add yourself skiing on a hill, and just let your ideas flow! I’d love to see what you did. You can find more art ideas, classes and workshops with me at www.mayaart.ca and on Facebook and Instagram at “Art by Maya”, or join my newsletter for more art at home tips and tricks!

Have a colorful day,

Maya

20210206_132829.jpg

Art kit at home video - collaboration with Due North

Welcome to the art kit video! A local art home made gift for you, we made the art kits that have the pre organized supply you need to make this video with us!


I’m excited to share with you the art video to go with the art at home kit we have for you as Due North and Art by Maya collaborate. We have for you a home made art kit to create 4 pages or your own holiday story by seasons and colors. We have instructions, supply, and much room for imagination to make it your own !!!

We wanted to make a project to inspire you to create especially when you’re home. So get the kit, start the video, and enjoy! Our theme is seasons so we are timeless and can explore varied mediums (see supply below! wow so many!) in a fun and creative way.

Who is it for? anyone who wants to share art , create and explore many mediums in a colorful way! we have shapes, colors, texture and more!


The kits are available at $54 each and includes:

Paint

Brush

Crayola in 16 hues

Varied pencils

Varied crayons

Craft supply

Scissors

Glue

step by step instructions on creating a 4 page story with it

STEP by STEP Video to work with

Art kits available at Due North at (867) 667-2229 downtown Whitehorse at the Horwoods mall

Exploring colors and shapes in Culture Days events

Thanks to everyone who came to Culture Days celebrations! And for the Yukon Art Center for organizing it, and inviting me to make some art! our theme was exploring colors and shapes in unexpected intersections. We explored the color wheel in shape (as circles intertwine and are in, next to and around each other) and colors (blended, monochromatic and complementary). Here is the picture of our final collaborative piece! we each made a part and glues it one by one (with distance…) on the collaborative art.

You can always keep exploring at home as you cut circles and play with colors. Remember, you can’t make mistakes ;)

Thank you for sharing your creative ideas and looking forward to create with you again next time :)


Colorfully yours

Maya

IMG_20200926_184020_189.jpg

Teaching online art tips with Artist in the School

I’m excited to share and be a part of the artist in the school program. We worked on a fun video and it’s now available here! Getting creative in and out of the paper :)

Link:
http://artistintheschool.ca/for-artists/learn

Fall leaves in complementary colors

Fall leaves in complementary colors

It's a wonderful time to see colors around! Today's art is inspired by the colors of fall and fun popping textures! Ready? Let's go! 

Complementary colors make each other pop and they are CELEBRATING in the fall! This time we'll focus on red and green, a lively complementary couple we see all around. 

What you'll need : paper, pencils colors 


1. Draw the outline in dark red and add center lines 

2. Add dark green in the outside towards inside 

3. Add orange in the center of the leaves and color towards the green, and overlap them.

4. We are going dark to bright hues, so feel free to add more bright colors (yellow is great) in the very center or just play with it  

5. Add as many as you wish and make your art into a card (I love making thank you cards!) Or just for fun! 


Hope you enjoyed the art today! Make it your own and play with it, it's nice to make more than one and let your ideas flow! I’d love to see what you did, please share it with me on social media at “Art by Maya” at
https://www.facebook.com/mayaart2 or insiagram at https://www.instagram.com/maya.art

Have a colorful day,

Maya


To get emails when a new blog art at home comes by message me to get on my mail list! :)

fall 3 .jpg
fall 2.jpg
Fall 1 .jpg

Art at home- mandalas in complementary colors!

Drawing Mandalas

Get inspired from inside out- with mandalas! I love drawing mandalas, they are so fun, calming, and the more I create them the more I want to make. They are also a great exercise to get creative if you feel stuck and in need of a creative muscle workout, a break, or just a relaxing time. When I make them I like using what I have at home- no need for fancy things. We’ll improvise with what we have and it shows us how art is a creative, resourceful and fun way to bring our ideas on the paper 😉 So let’s get started! 

What you need: pencil, paper, colors, cups.

1.      Take a cup, place it on the paper, and trace it to draw a circle

2.      Add a design inside. Remember the flowers we did last time? They’re great! Though anything will do. You can do flowers, spirals, dots, you name it.

3.      Add another circle outside the first circle (you can use a plate, a yogurt container, anything that you can trace)

4.      Add petals on it/ any design you like!

5.      Add a last circle

6.      Add more petals/ half circles/ designs! See my pictures for ideas, but go for your own too

7.      Add some colors- remember we mentioned complementary colors? If you’re not sure where to start they’re my favorite combinations, I especially like blue and orange. But everything works!

8.      You can sharpie the circles if you want to add some clear outlines.

And you’re done! Hope you enjoy the tips for today! 😊 And remember, there’s no right and wrong- just have fun with it! I’d love to see what you created, keep sharing your art with me!  You can join my newsletter for first call for events and art at home tips and tricks! Lots of new programs for kids upcoming in the fall so stay tuned!

Have a colorful day,

Maya


mandaas .jpg

Art to do at home with the kids!

recycled mixed media art at home!

As we're stuck at home, here are the activities I had in mind for us to do, adjusted to home:

1. collect recycled materials we didn;t get to throw away yet (yey procrastination! it does pay off today :)

2. cut them to 1-2 '' pieces of basic forms (circles, triangles, square)- wonderful motoric skills practice ! cereal boxes are the best

3. color in acrylics in primary (blue red yellow) and secondary colors (orange, green, purple)

4. take a thick paper (card stock works well) and design them on it as you wish! you can make monsters, aliens, flowers, forests. etc. ) we learned basic forms so the kids might remember how to assemble from them but it was so quick so just have fun with it whatever they make!)

5. glue them on place

6. after it dries (lunch time break!) add in sharpies the aliens details (hair? hands? )

7. share and make up a story for it!

Tip: use what you have, colorful paper, glitter, etc. beads, for mixed media! it will make it pop more. you can also make later a round 2 and a small version of it and make it to a card (we spoke about how at hard times we can give cards that make people's hearts happier)

Hope you enjoy it.

Have a colorful day,

Maya

Brave colors and my secret brush for 90% of my art

Fun art tips! Brave experiments!


So for this month’s art tips, we got new BARVE steps! Click the link to find more!
New Year, new steps! I’m challenging myself to create with new colors, and finding that adding colors that are not always making sense is AWESOME! Hope you’ll enjoy the art blog 😊


My fun tip is use all colors and what we have at home. Art should be fun and accessible. The trick is this: leave colors side by side, so each can have its own glory shiny moment. No sharing is caring here 😉. 

Tip 1:

And for a useful way to create with them: I will tell you a secret. I usually use just a small flat brush for 90% of what I paint at home. Just 1 cm. That’s all you need. The tip is for trees. The flat surface is for sky. The fingers (YES! I use fingers!) are for touch ups. Just be careful for the oil in our hands, natural oil, as it doesn’t blend with the water in the paint.

Tip 2:

Wash your brush and dry it between colors. make sure it’’s really DRY. Otherwise water make your hues less strong as they spread with the water.

If it doesn’t make sense, keep following me on facebook and see the posts and steps on enxt week’s details and tips ;)

https://www.facebook.com/mayaart2/

The picture here is an experiment I had with colors. If we blend them it gets bown, but side by side it’s blue, re, and green. Love it!

Happy weekend!

Colorfully yours

Maya

Tombstone watermark.jpg